Note: If you use Plain or all-purpose Gluten free flour, you need to add an extra 2 tsp of baking powder to the recipe, making a total of 3tsps.
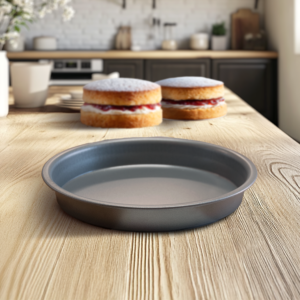
Before starting the recipe, grease and line the bottoms of 2, 20cm / 8” sandwich cake tins, these are available on the website, see the link below.
Pre heat your oven to 170°C / 340°F or Gas mark 3.
Start by adding the baking powder and Xanthan gum to the flour and thoroughly mix it in, the best way is to push it through a sieve a couple of times.
Add the butter or margarine and caster sugar to a bowl, beat them together using a whisk until they soft, light and creamy, this should take at least 4 minutes.
Add the eggs to batter one at a time and beat for 30 seconds each time, beat in the vanilla extract with the last egg.
Sift in the GF flour, using a spatula, very gently fold it all together.
Once fully blended, equally divide the mixture between the 2 prepared cake tins.
Using the back of a dessert spoon, spread the batter out in the tins, try to leave it slightly raised in the centre.
Now get the tins into your preheated oven and bake for 30 minutes.
The Chantilly Cream:
Add the cream, icing sugar, and vanilla extract to a small bowl, and whisk until stiff enough that it can stand up on its own, do not over whisk, if you do go a little to far and it is too stiff, you can rescue it by adding a little milk and gently mixing it in.
Once the time is up on the cakes, check with a cocktail stick, if it comes out clean, it’s done, if not! bake for another couple of minutes.
Place the tins on a wire rack and let them cool and settle for 15 minutes.
Carefully remove the cakes from the tins, they should release quite easily, if there is any sticking, gently run a thin bladed knife around the edge of the tin, being careful not to damage the non-stick coating on the tins.
Turn both of the cake’s upside down, one on a large plate or cake stand (the bottom of the cake), turn the other (top cake) on the wire rack.
Moisten the cakes with a little sugared water, or use my method used in the video.
Now spread a jam of your choice on both cakes, staying approximately ½ an inch shy of the edges.
Scoop all of the cream onto the jam on the bottom cake, and carefully spread it out, also leaving it shy of the edge.
Now very carefully lift the top cake, flip it over, line it up and lower it down onto the bottom cake, once your happy with the positioning, gently press it down, suction will hold it in place.
Now simply dust the top of the cake with icing/powdered sugar, and that is it, your beautiful gluten free cake is ready to eat.
Enjoy.
Equipment & products used in my kitchen and videos